Activating Logs
Event Hubs
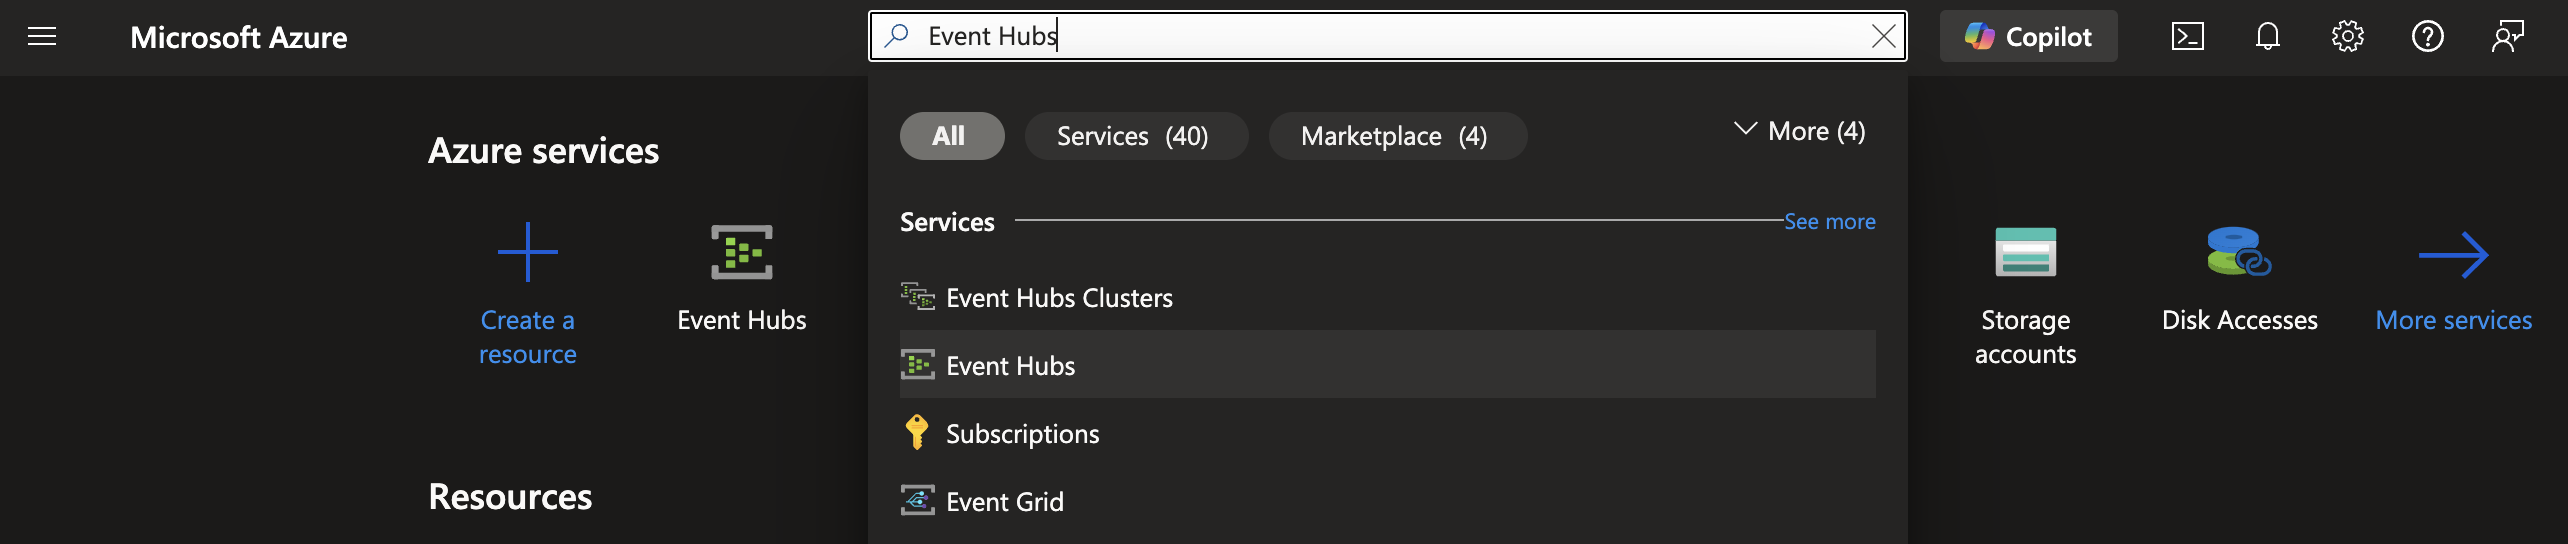
From the Azure Portal, look for Event Hubs and select it:
-
From the Azure Portal, look for Event Hubs and select it
-
Click on +Create
-
Fill in the parameters according to your best practice environment (ex: subscription, resource group etc.), except the following values:
- Basics
- Pricing Tier: Standard
- Throughput Units: 1
- Advanced
- Minimum TLS version: Version 1.2
- Local Authentication: Enabled
- Networking
- Connectivity method: Public Access
- Basics
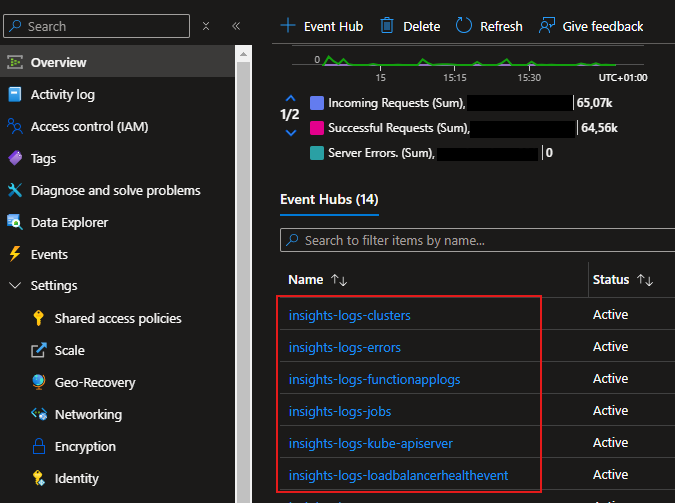
Please note that once the resources that you want to monitor send logs to the event hub created above, the corresponding event hubs will be automatically created.
For example:
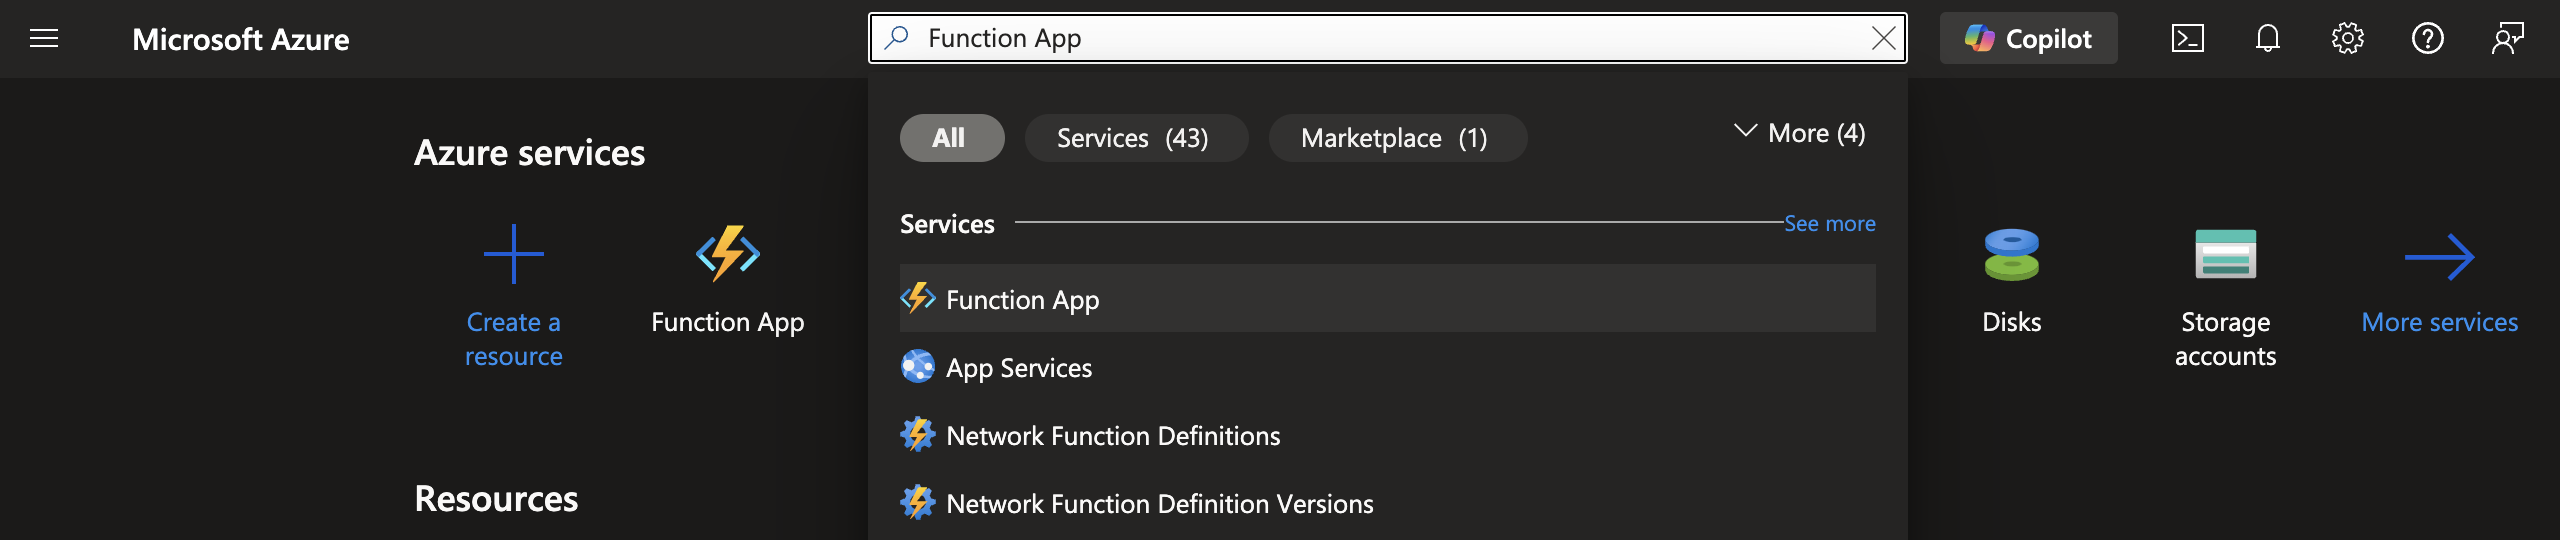
Azure Function
- From the Azure Portal, look for Function App and select it:
- Fill in the parameters according to your best practice environment (ex: subscription, resource group etc.), except the following values:
- Basics
- Hosting Option: Functions Premium
- Do you want to deploy code or container image? Code
- Runtime stack: .NET
- Version: 8 LTS, in-process model
- Operating System: Windows
- Pricing Plan: Elastic Premium EP1 (210 total ACU, 3.5 GB memory, 1 vCPU)
- Networking
- Enable public access: On
- Monitoring
- Enable Application Insights: No (turn it on after the Function has been created)
After the Function has been deployed, complete the following fields:
Overview – Functions - +Create
- Select a template: Azure Event Hub trigger.
- Set the other parameters based on the Event Hub created earlier.
- Environment variables: NEBULA_API_KEY
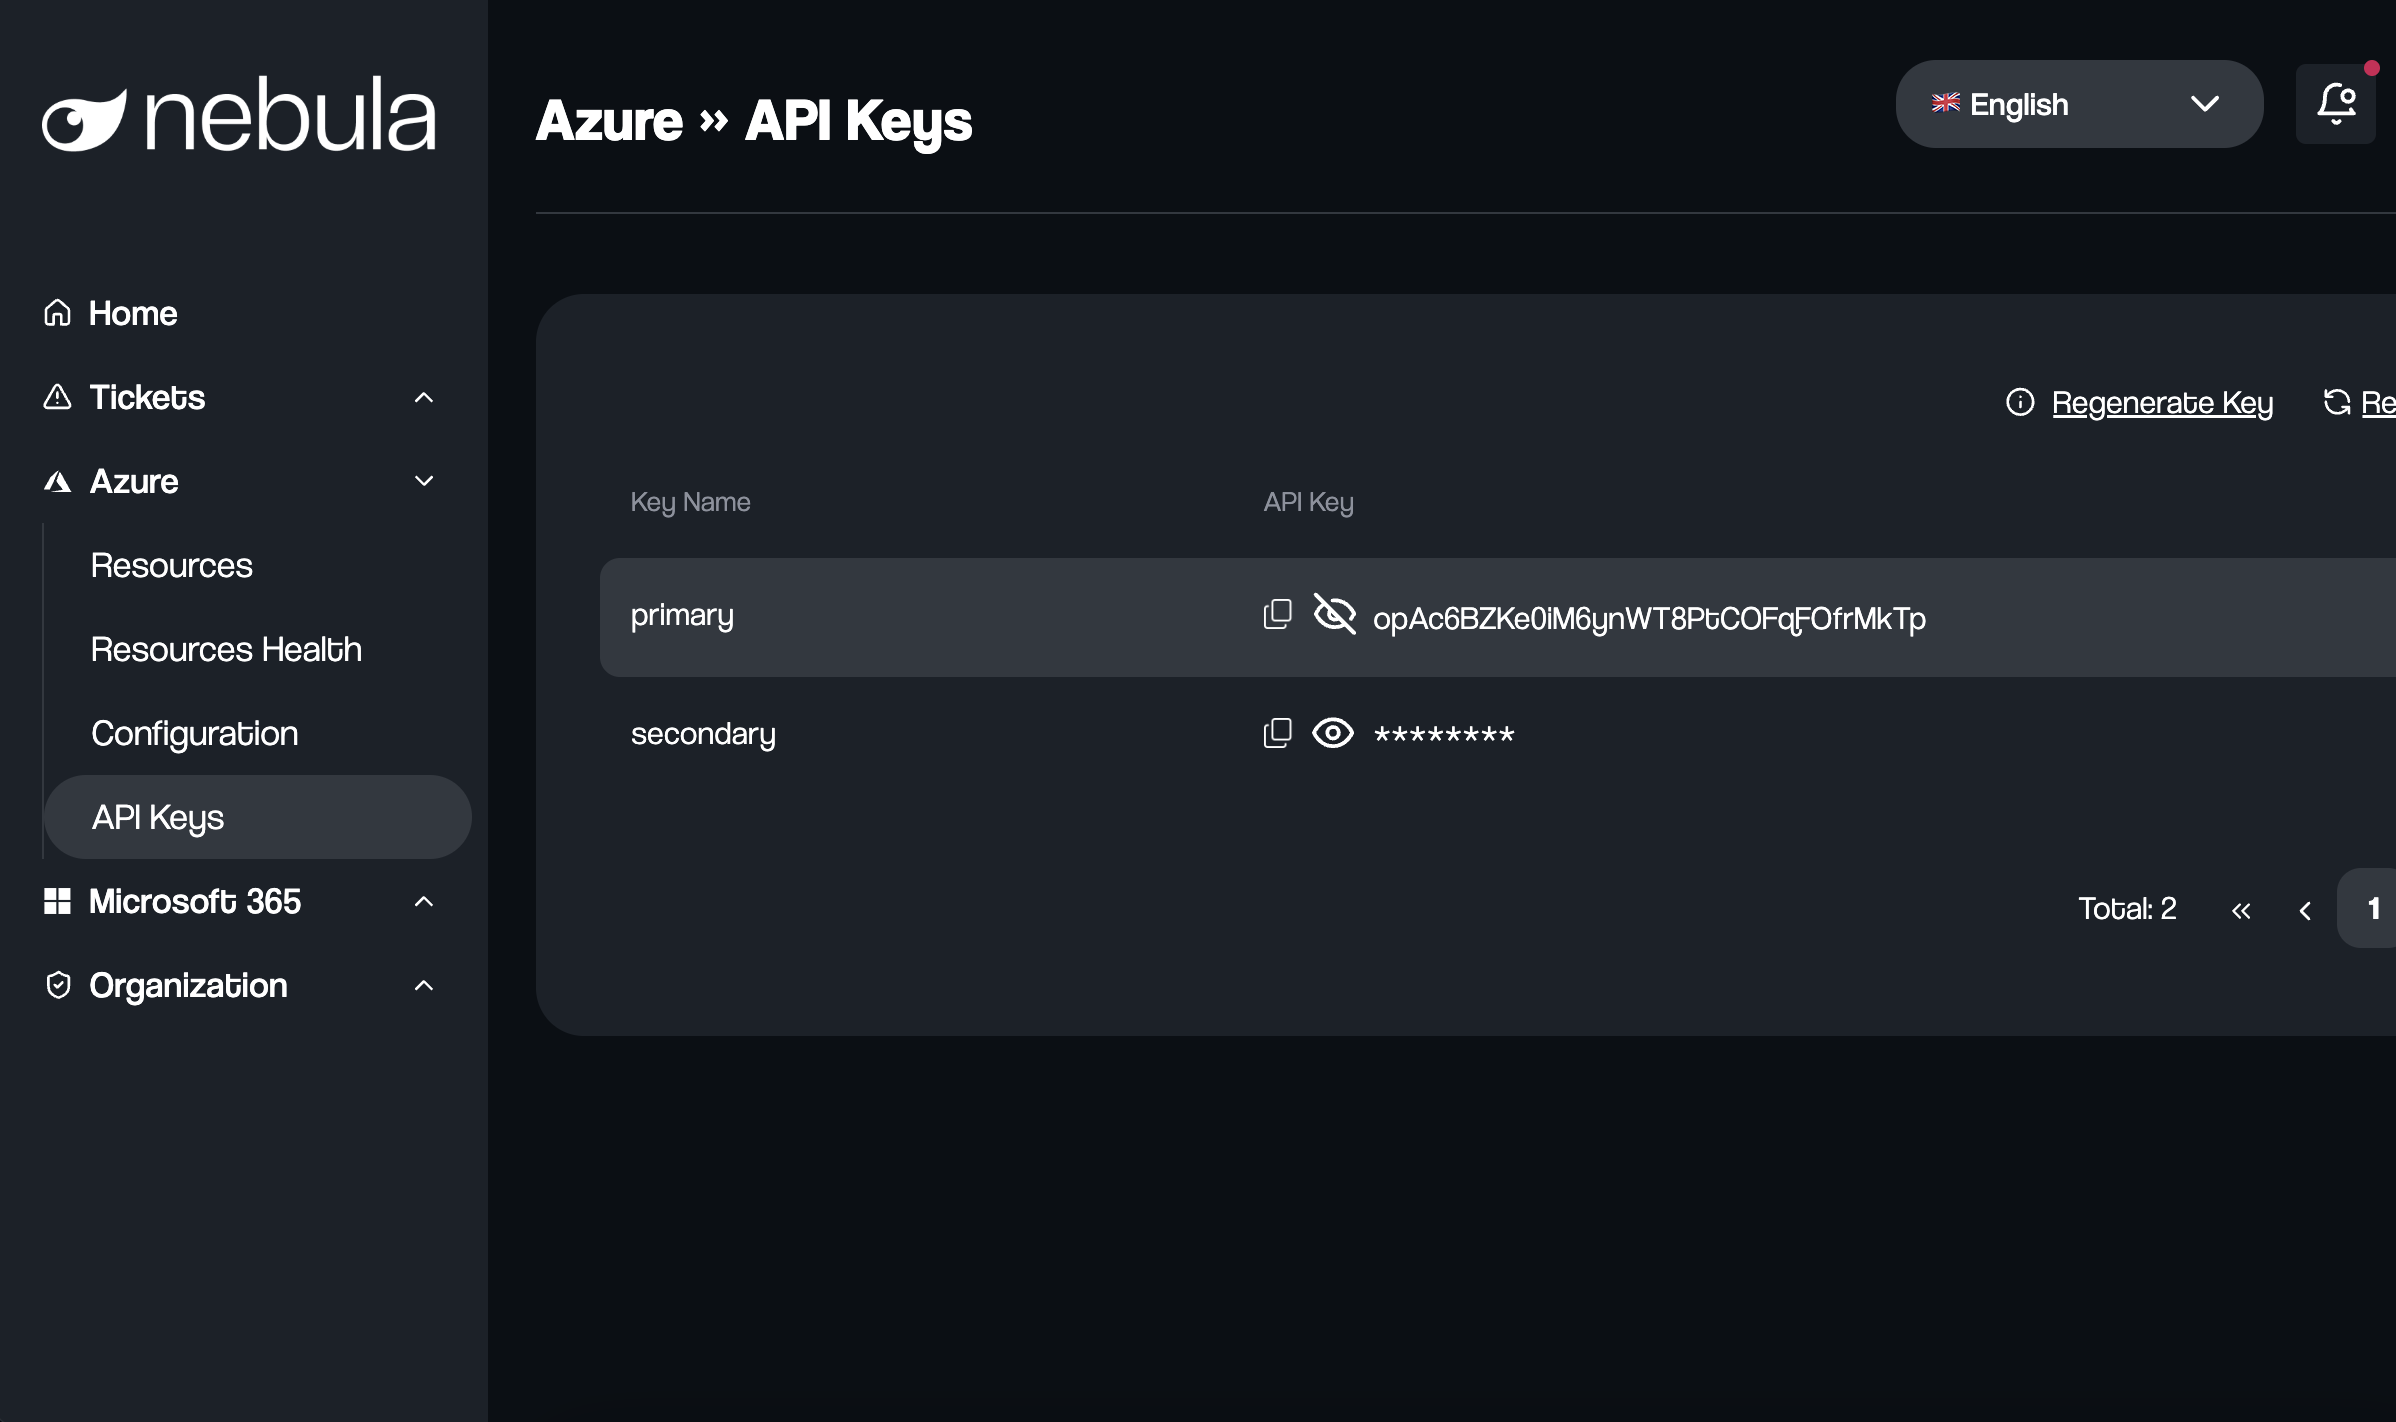
How to get an API KEY?
Go to nebula.altermaind.com and follow these steps:
- Menu -> Azure -> Api Keys (remember, this functionality is visible only for orgaAdmin role)
- Copy the Primary api-key and use it like a value for the variable NEBULA_API_KEY
Azure Function Code
#r "Newtonsoft.Json"
#r "Azure.Messaging.EventHubs"
#r "System.Net.Http"
#r "System.Memory.Data"

using System;
using System.IO;
using System.Net.Http;
using System.Text;
using System.Threading.Tasks;
using Azure.Messaging.EventHubs;
using Newtonsoft.Json;

public static async Task Run(EventData[] events, ILogger log)
{
    HttpClient httpClient = new HttpClient();
    string NEBULA_URL = "https://azurerm-intake-api.altermaind.com/api/diagnostic-logs";
    string NEBULA_API_KEY = Environment.GetEnvironmentVariable("NEBULA_API_KEY");
    const int INITIAL_DELAY = 1000; // Initial delay in milliseconds

    foreach (EventData eventData in events)
    {
        string messageBody = Encoding.UTF8.GetString(eventData.Body.ToArray());
        log.LogInformation($"Received message: {messageBody}");

        bool messageSent = false;
        int retryCount = 0;
        int delay = INITIAL_DELAY;

        while (!messageSent)
        {
            try
            {
                // Prepare the HTTP request
                var httpRequestMessage = new HttpRequestMessage(HttpMethod.Post, NEBULA_URL)
                {
                    Content = new StringContent(messageBody, Encoding.UTF8, "application/json")
                };

                // Add API key to the request headers
                httpRequestMessage.Headers.Add("X-API-KEY", NEBULA_API_KEY);

                // Send the HTTP request to the microservice
                HttpResponseMessage response = await httpClient.SendAsync(httpRequestMessage);

                if (response.IsSuccessStatusCode)
                {
                    log.LogInformation($"Successfully sent message to microservice. Response: {await response.Content.ReadAsStringAsync()}");
                    messageSent = true;
                }
                else
                {
                    log.LogError($"Failed to send message to microservice. Status Code: {response.StatusCode}, Response: {await response.Content.ReadAsStringAsync()}");

                    // Check if the status code is between 400 and 499
                    if ((int)response.StatusCode >= 400 && (int)response.StatusCode <= 499)
                    {
                        log.LogError("Client error occurred. Not retrying.");
                        break;
                    }
                }
            }
            catch (Exception ex)
            {
                log.LogError($"Exception: {ex.Message}");
            }

            if (!messageSent)
            {
                retryCount++;
                log.LogWarning($"Retry attempt {retryCount} failed. Waiting {delay}ms before next attempt.");
                await Task.Delay(delay);
                delay *= 2; // Exponential backoff
            }
        }
    }
}
Policy
This guide is divided in two main sections: one for general purpose, one for specific resources.
General
-
From the Azure Portal, look for Policy and select it
-
Under Authoring, select Definitions, then + Policy Definitions: it will opens the following wizard:
a. Define location: the highest level of your directory, typically the root management group, because in the successive steps you can assign the policy to the underlying levels (ex: subscription).
The content of the other forms is based on your environment.
- Once the policy has been created and saved, the next step is to assign it. Prior to moving forward, it is necessary to have the User Access Administrator role for the scope of the policy assignment.
Select the policy under Authoring – Definitions
-
Click on Assign policy, the below wizard will appear
-
Basics tab
- Scope: the highest level of your directory, typically the root management group, to target all the resources impacted by the policy.
- Policy definition and Assignment name are directly set in the policy. The content of the other forms is based on your environment.
-
Parameters tab
Select the Event Hub created before.
-
Remediation tab
- Type of Managed Identity: System assigned managed identity.
The other fields are automatically filled in by the policy definition.
- Non compliance message: according to your environment.
- Create and save the assignment.
-
-
When the policy has been assigned, its evaluation time depends on several events according to the Microsoft documentation.
It is possible to monitor the status of the evaluation under the Remediation – Policies to remediate – Resources to remediate column.
-
Once the ingestion of resources to remediate has been completed, click on the desired policy (Remediation – Policies to remediate) and set the parameters of the remediation according to your choice:
- Applicable resources to remediate here you can select the scope (ex: management group, subscription etc.)
- Locations
Finally, select Remediate.
-
It is possible to monitor the status of the remediation under Remediation
- Remediation task