Create a MongoDB Integration
Follow the steps below to properly set up a new MongoDB integration.
MongoDB Atlas Steps
- Log in to your MongoDB Atlas account at https://account.mongodb.com/account/login.
- At the top of the page, select your organization.
- Click the "Settings" icon located next to your organization’s name.
- From the left-hand menu, select "Access Manager."
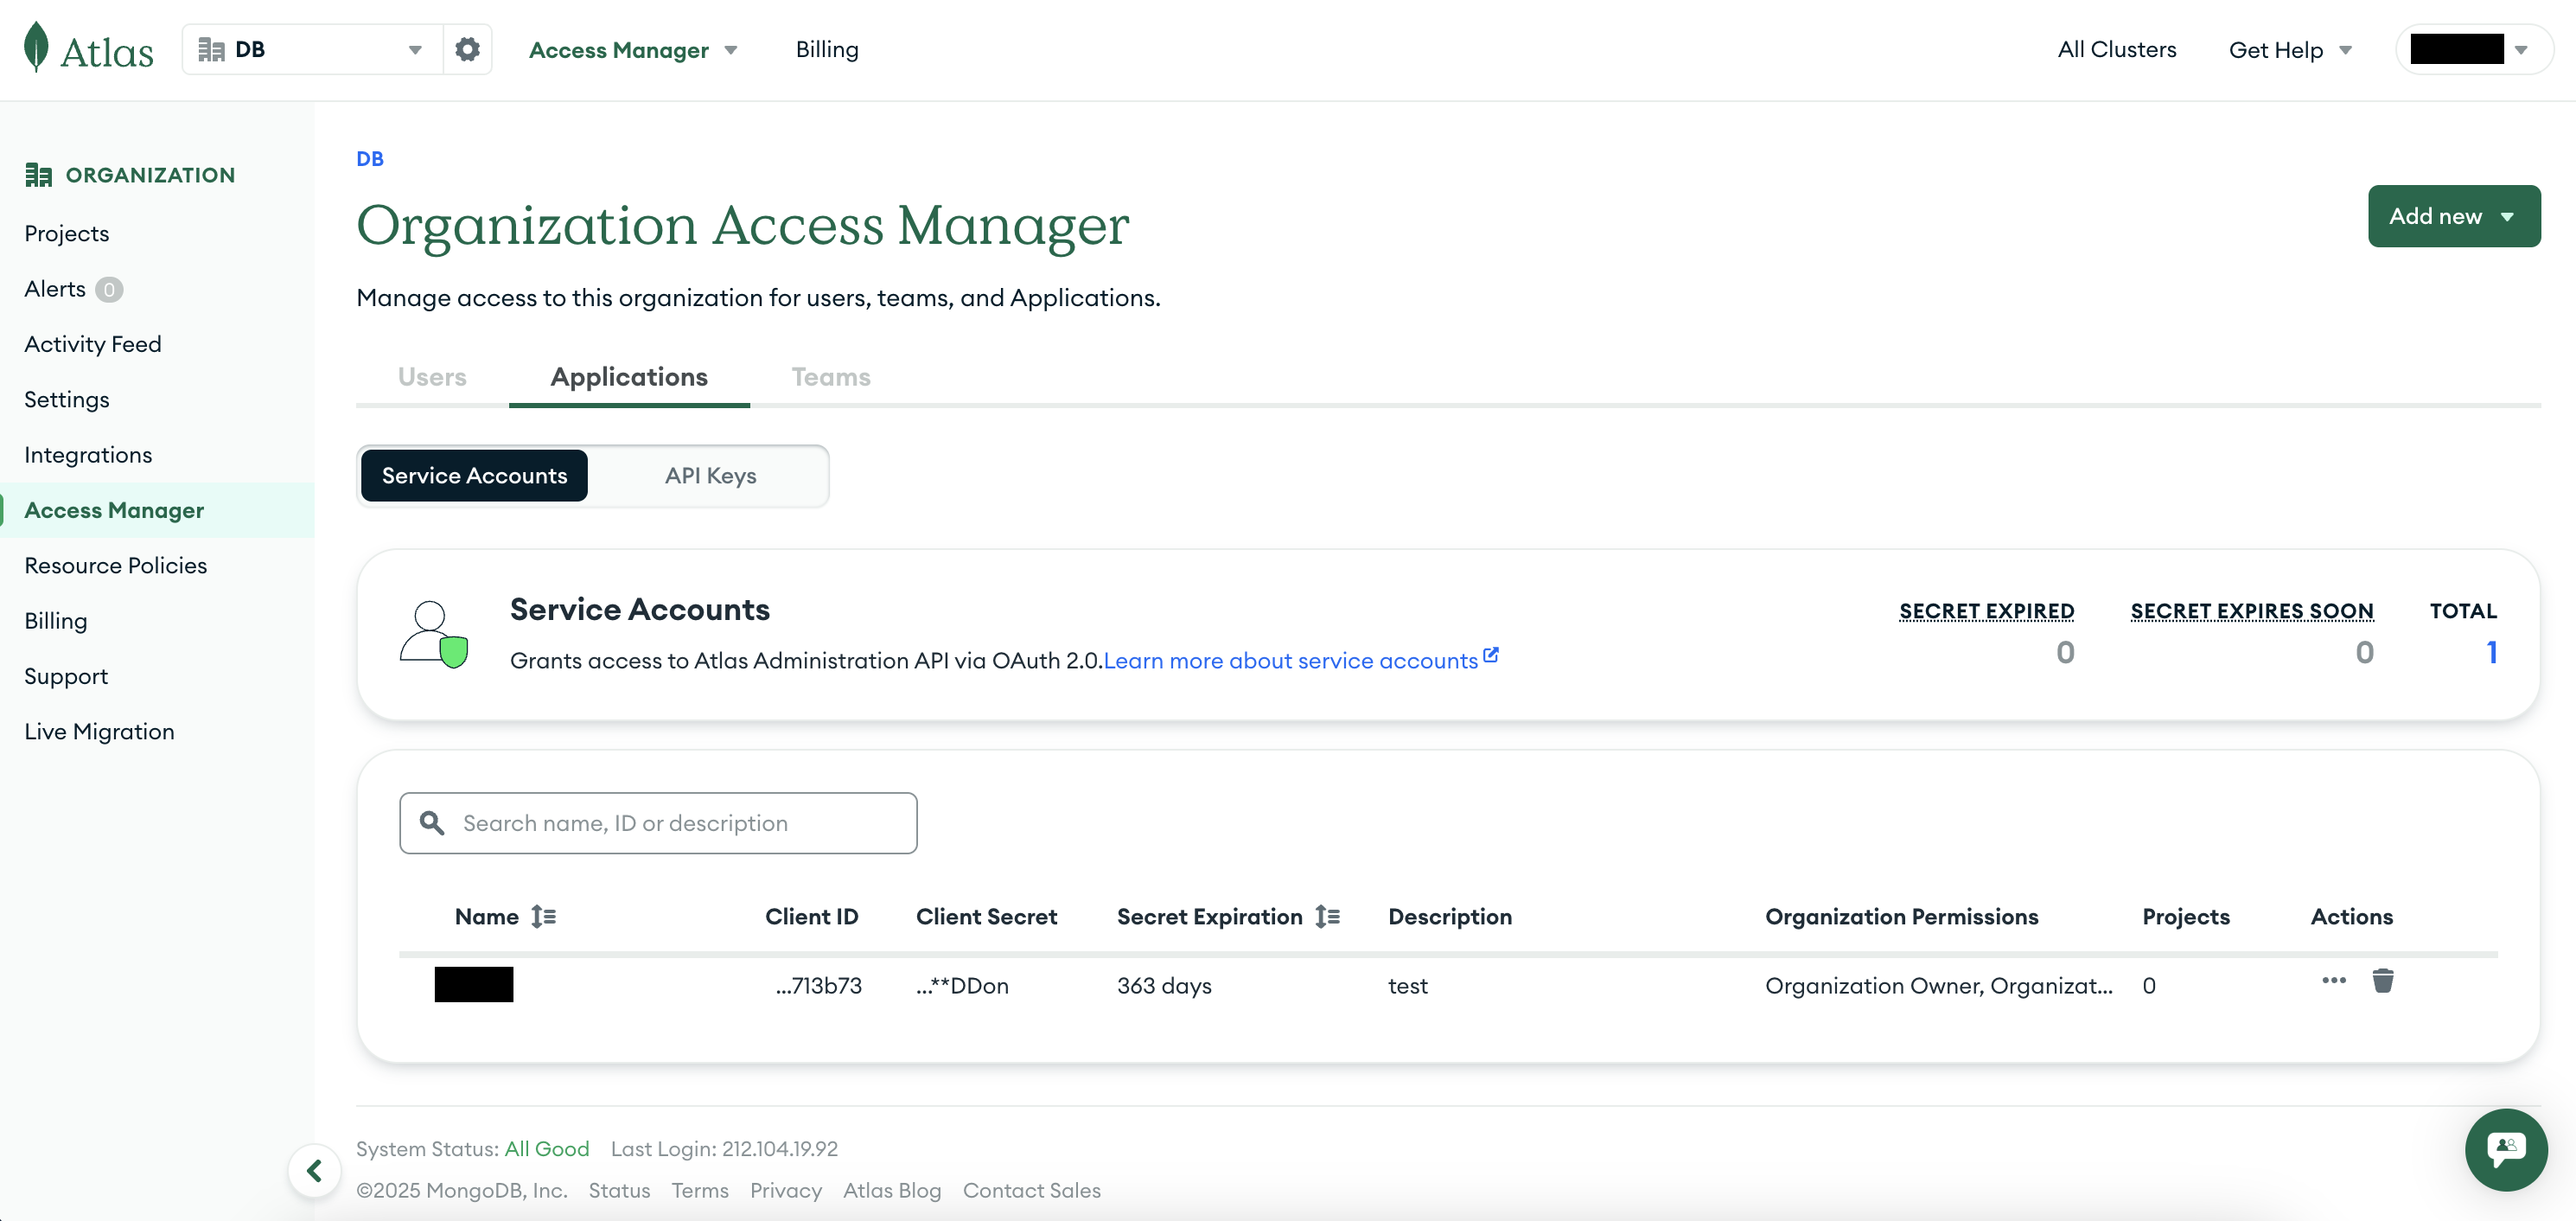
- On the right-hand side, click "Add New" and choose "Service Account."
- Fill out the Service Account details:
- Name
- Description
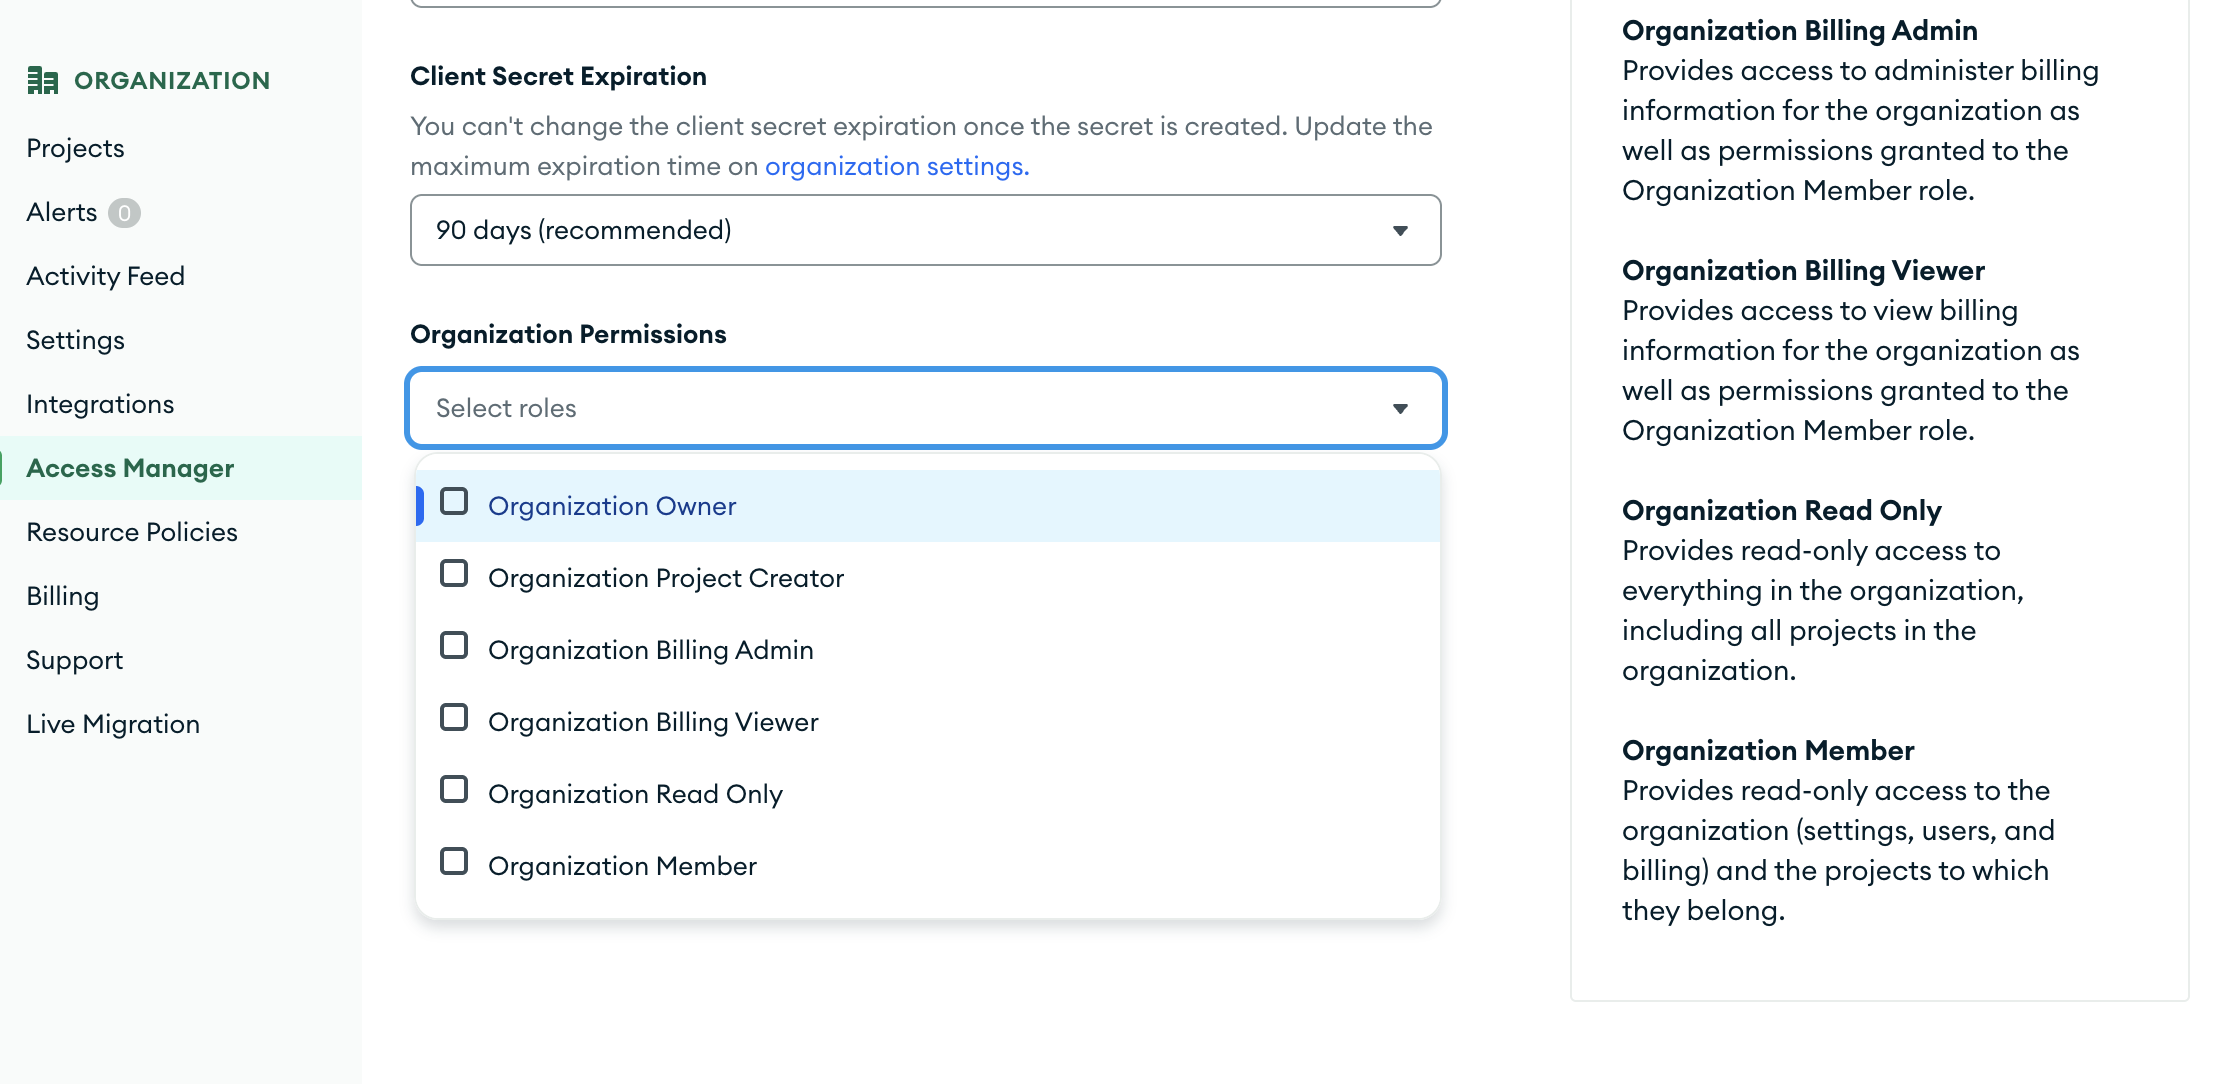
- Client Secret Expiration (we recommend setting this to 365 days)
- Organization Permissions: select "Organization Read Only".
Granting Project Access to the Service Account
After creating the Service Account at the organization level, you need to assign the appropriate permissions to the individual projects where you want to use it.
- Go to Access Manager.
- In the left-hand menu, select Projects.
- Find the project you want to enable and click Visit Project Settings under the Actions column.
- In the left-hand menu of the project settings, select Access Manager.
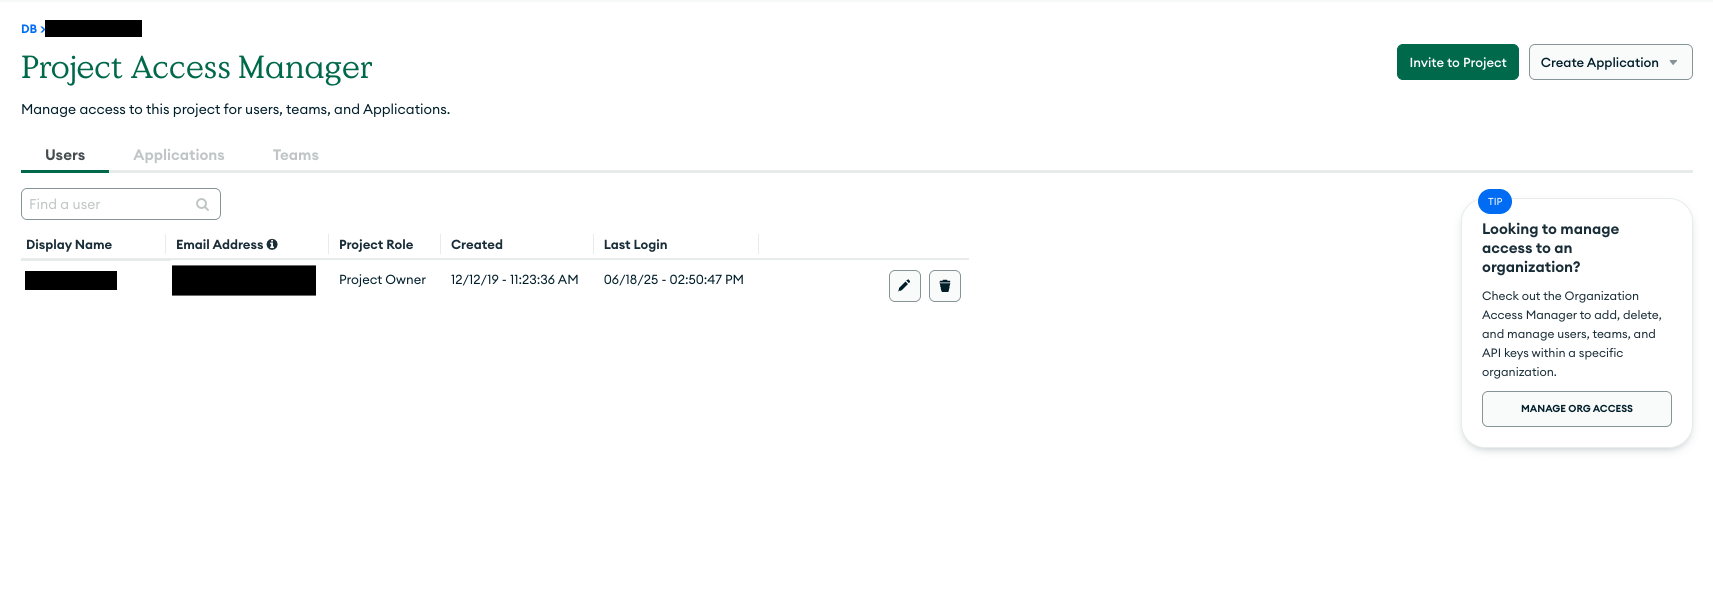
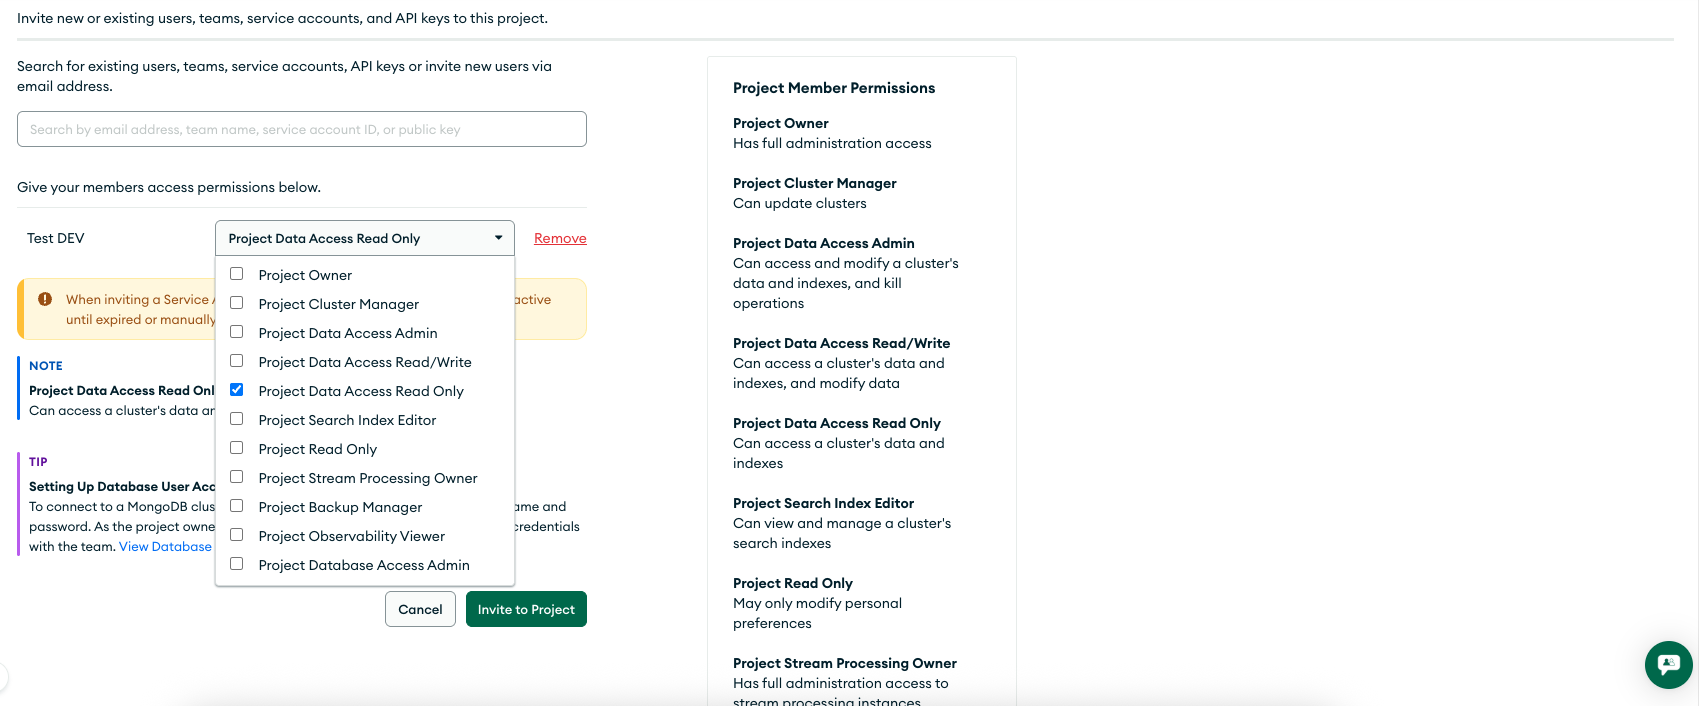
- Click Invite to Project on the right-hand side.
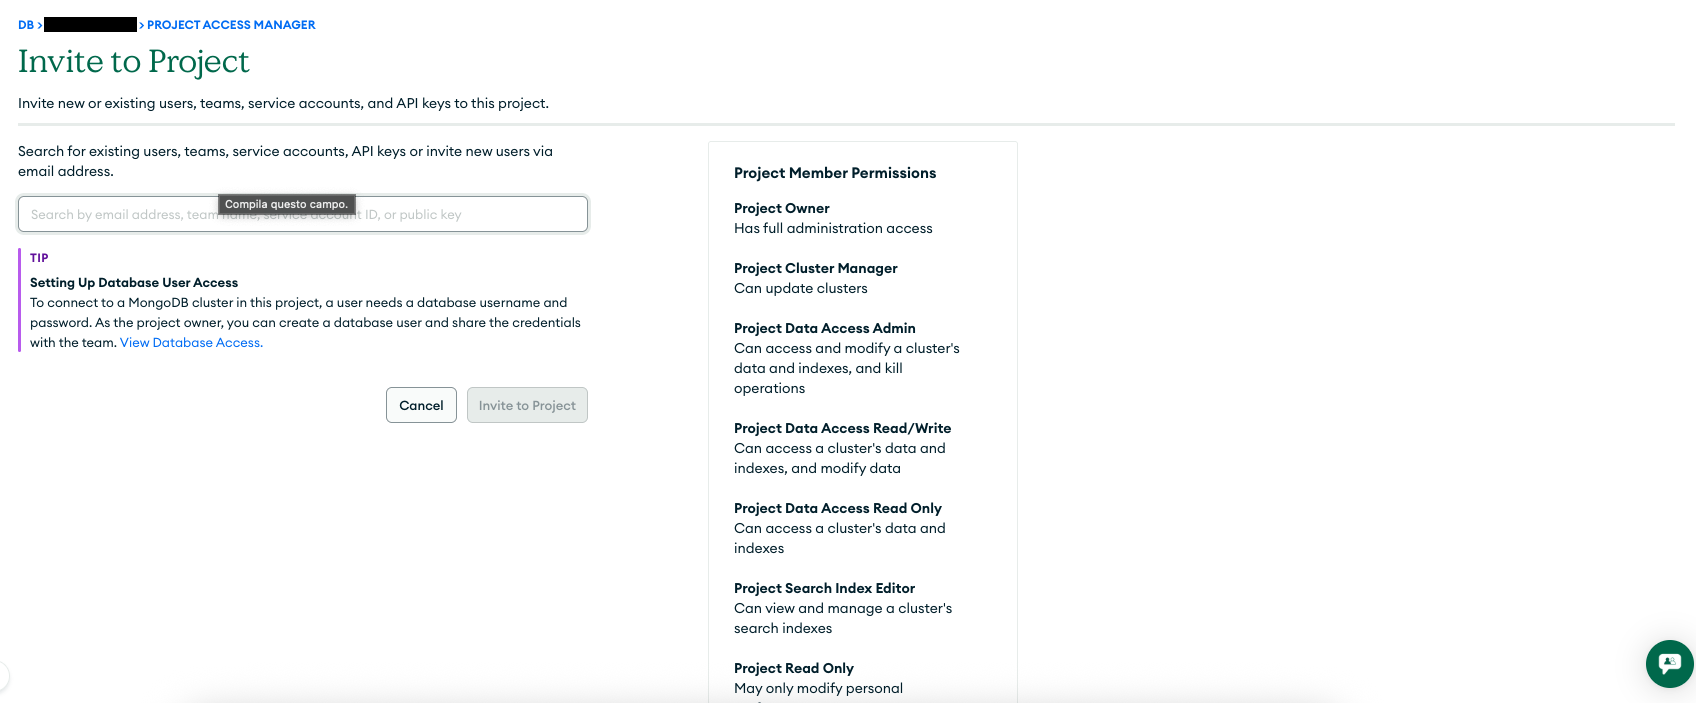
- Search for your Service Account, then select it.
- Assign the appropriate role — for example, Project Data Access Read Only.
Nebula Steps
- Log in to the Nebula platform.
- Navigate to MongoDB in the left sidebar.
- Click on "Configuration."
- Click "New" to open the integration form.
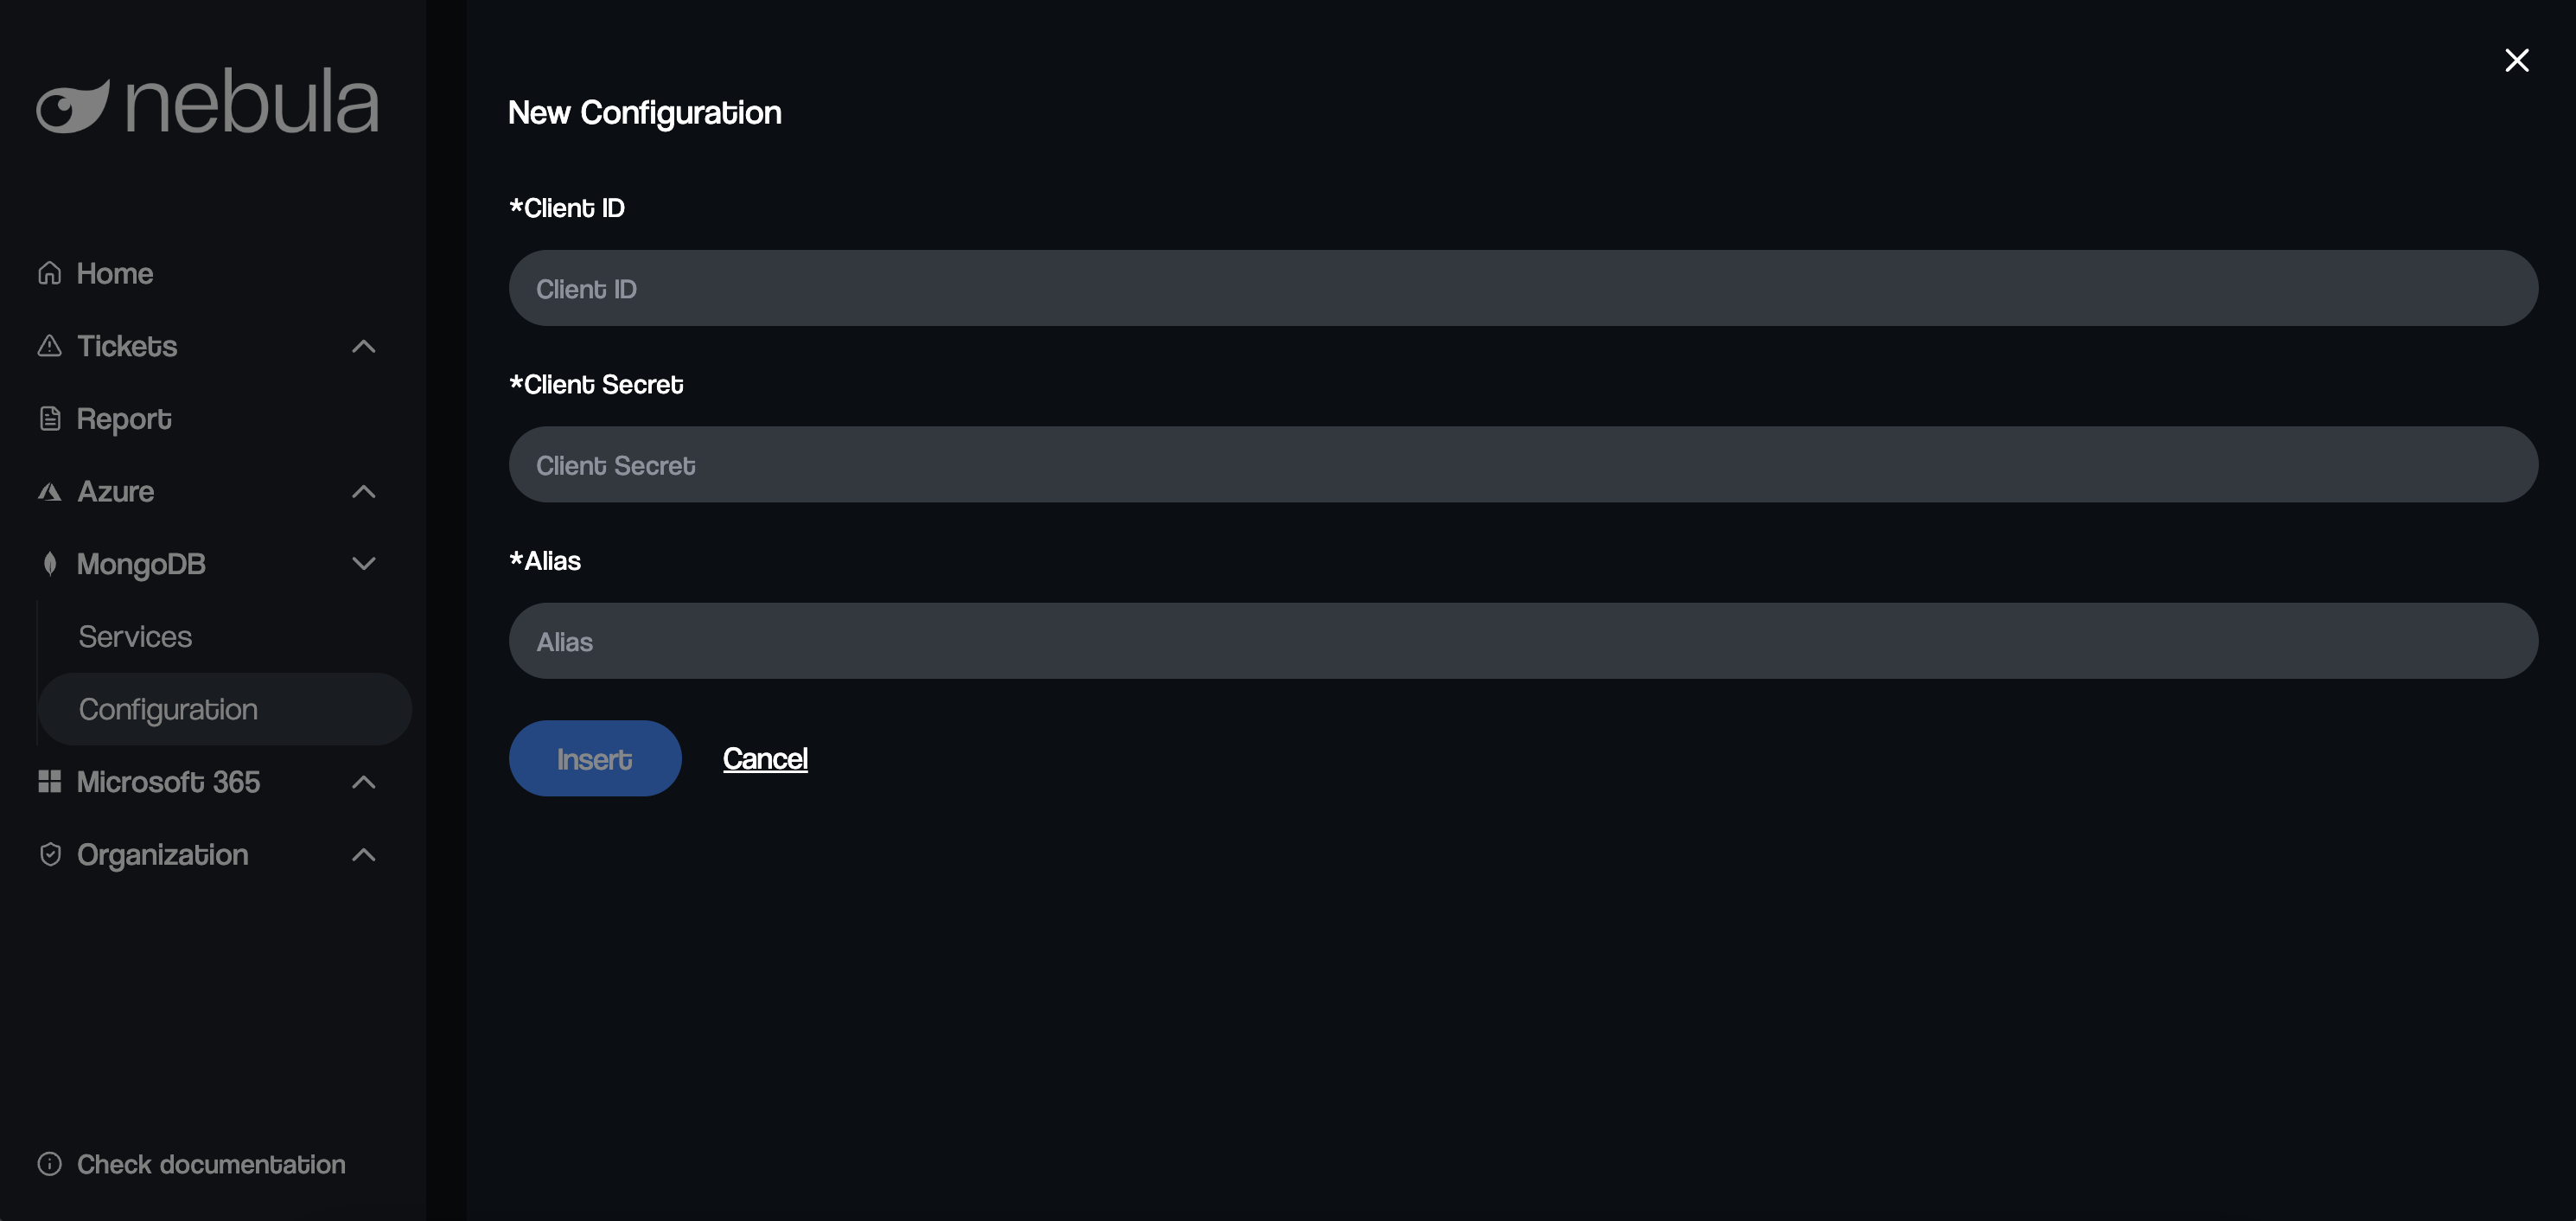
The form includes several required fields:
Client ID (Required)
Enter the Client ID from the Service Account you created in the MongoDB Atlas steps.
Client Secret (Required)
Enter the Client Secret from the Service Account you created in the MongoDB Atlas steps.
Alias (Required)
Enter a friendly name for this integration.
This will help you distinguish between multiple MongoDB configurations in Nebula.